Schoology Conferences provides real-time sharing of audio, video, slides, chat, and screen. You can access Schoology Conferences via the built-in Conferences app while logged into Schoology. Using the Conferences app, Teachers can create, plan, and hold live audio and video conferences with up to 100 participants, enabling schools to deliver a high-quality learning experience to remote students.
| Anchor | ||||
|---|---|---|---|---|
|
Use this article to learn:
| Table of Contents | ||
|---|---|---|
|
Create a Conference
As the course Admin, you can create a new conference after installing Conferences:
- Click the Conferences app in the left menu in a course or group where it is installed.
- Click + Create New Conference.
- Name the conference and set its start time. You can also include an optional end time.
- Use the gear
 to the right of a specific conference to edit the title, start, and end times or to delete the conference.
| Info | ||
|---|---|---|
| ||
The first time you click into Conferences, you will be prompted to authorize access. Your students will see this as well, have them click on Approve.
|

You can Create as many conferences as you like. Upcoming conferences will appear in the Active tab. A list of past conferences displays in the Completed tab.

Conduct a Conference
As the Admin for your course or group, you need to click the Start Conference button within the app to begin the video conference.
| Info | ||
|---|---|---|
| ||
| Even if the Start Time has passed, your conference will not begin until you start the session. |
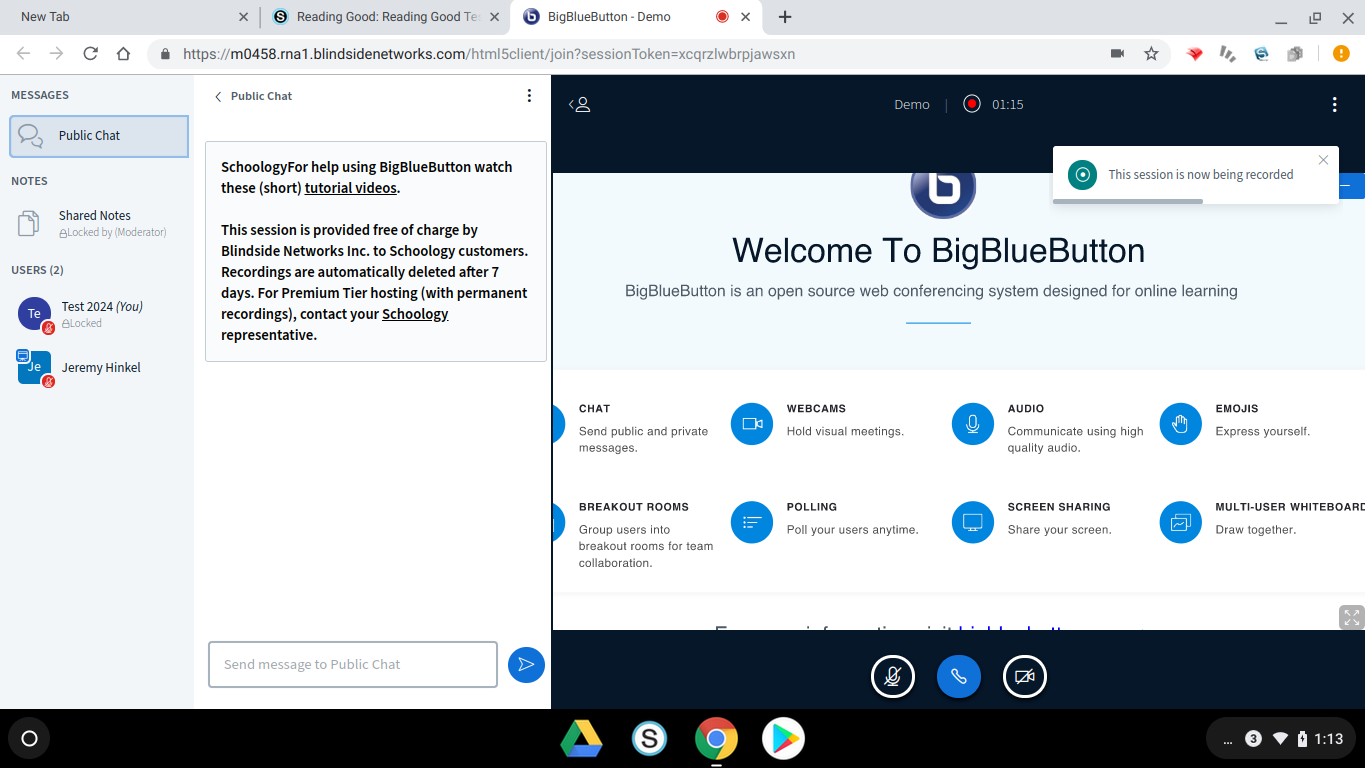
Upon launching or joining a conference, a new tab will open with the Conferences page. Once connected you will be prompted to test your audio and microphone.
During the conference you can:
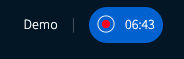
- Record the live video conference
- Upload documents
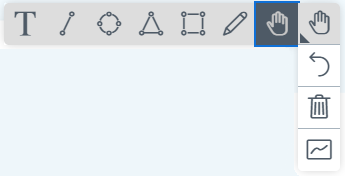
- Teach using an interactive whiteboard
- Make live annotations
- Chat instantly with all attendees or individuals
- Moderate the live discussion by muting participants and allowing them to raise their hands
- Share a YouTube video
- Collaborate with students in Shared Notes
- Create breakout rooms for team collaboration
(Note: The list above will be covered more in-depth in the Advanced section)
Students will also be able to:
- Make live notations on a shared, multi-user whiteboard
- Collaborate in Shared Notes, and later download them
- Participate in breakout rooms
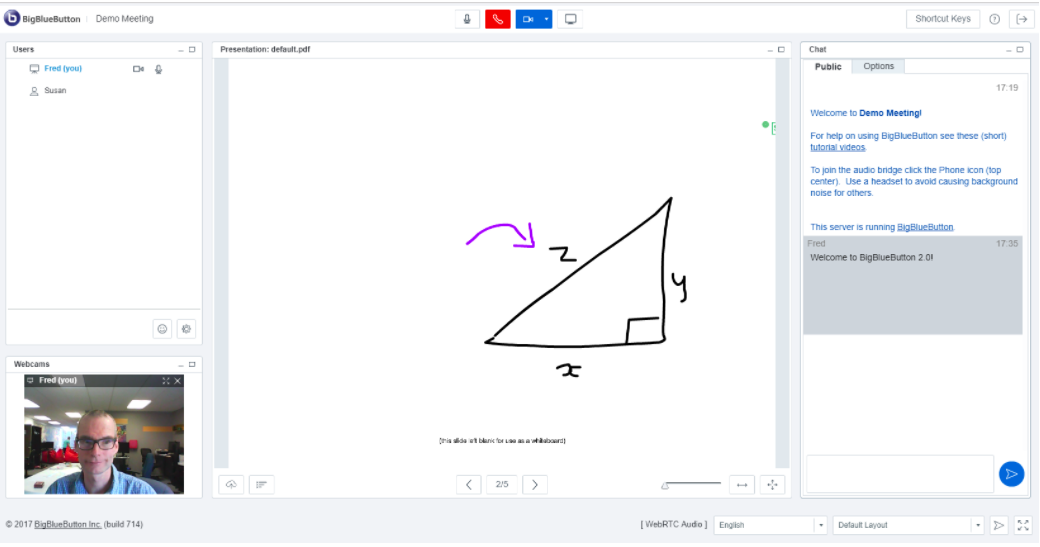
Example of live notations on whiteboard |
Example of Shared Notes |
|---|

Join a Conference
After you begin a conference, Students can join your session by:
- Clicking Conferences in the left menu.
- Clicking the title of the conference.
| Tip | ||
|---|---|---|
| ||
|
| Few things to consider:
|

End a Conference
To end a conference, the Teacher must select End Conference within Schoology. Participants can exit a conference by closing the browser or browser tab.
| Few things to consider:
|

Advanced: Control your Conferences
The main focus of this section is to understand the controls within Conferences, and the many tools which can be found on the Schoology Conference Main Page (Broken down below):
|
| ||
-Save creates a .TXT file and downloads the chat locally -Copy allows you copy the chat into another program (Word, Notepad, etc.) -Clear removes all conversations in the chat
> Saving Shared Notes, uses the Export function and is found in the upper right corner of the Shared Notes column:
*Can be found in the Managed Users section ( |
|


Breakout Rooms
|
|
|
Under Manage Users ( Create Breakout Rooms... | Next select how many rooms you want/need, duration, and assign students - randomly, allow students to choose, or drag and drop. | Once a Breakout Room is created, a new section is created on the left side. Teachers are able to join ANY/ALL Breakout Rooms and End All rooms anytime. |


| Info | ||
|---|---|---|
| ||
Breakout rooms open in new browser tabs. Each time a new conference is joined, the mic test/echo test goes through. Which means when you end Breakout Rooms, it may take a minute for students to move back to the original Conference room! |
Lock Viewers Settings
During a conference, Admins may lock some conference features to disable members from using them.
Conference features include:
- Share webcam.
- Share microphone.
- Send Public Chat messages.
- Send Private Chat messages.
- Edit Shared Notes.
- See other viewers in the Users list.
To lock conference features for members:
- From the Users panel on the left, click the gear
 on the right.
 - Select Lock viewers.

- Click the toggle bar next to each feature you wish to lock/unlock for members.

Note: Private chat messages and Shared Notes are locked by default.